Quick Start Guide
To get started with CALYPR, you will need to install git-lfs and git-drs, a "git" like command line tool for uploading and downloading files to the gen3 platform.
Git-LFS Installation Instructions
To use CALYPR, you must first install Git Large File Storage (LFS) on your system. This allows Git to efficiently handle the large genomic data files.
Install via Package Manager
sudo apt-get install git-lfs
sudo yum install git-lfs
sudo dnf install git-lfs
Download and Run Installer Download the latest Git LFS Windows installer and follow the setup instructions.
Initialize Git LFS Run the following command in your terminal to complete the setup:
Project Setup
You first need to set up a project and initialize it:
Now that you have initialized your project you have created a very primitive Git Large File Support (LFS) backed git repository.
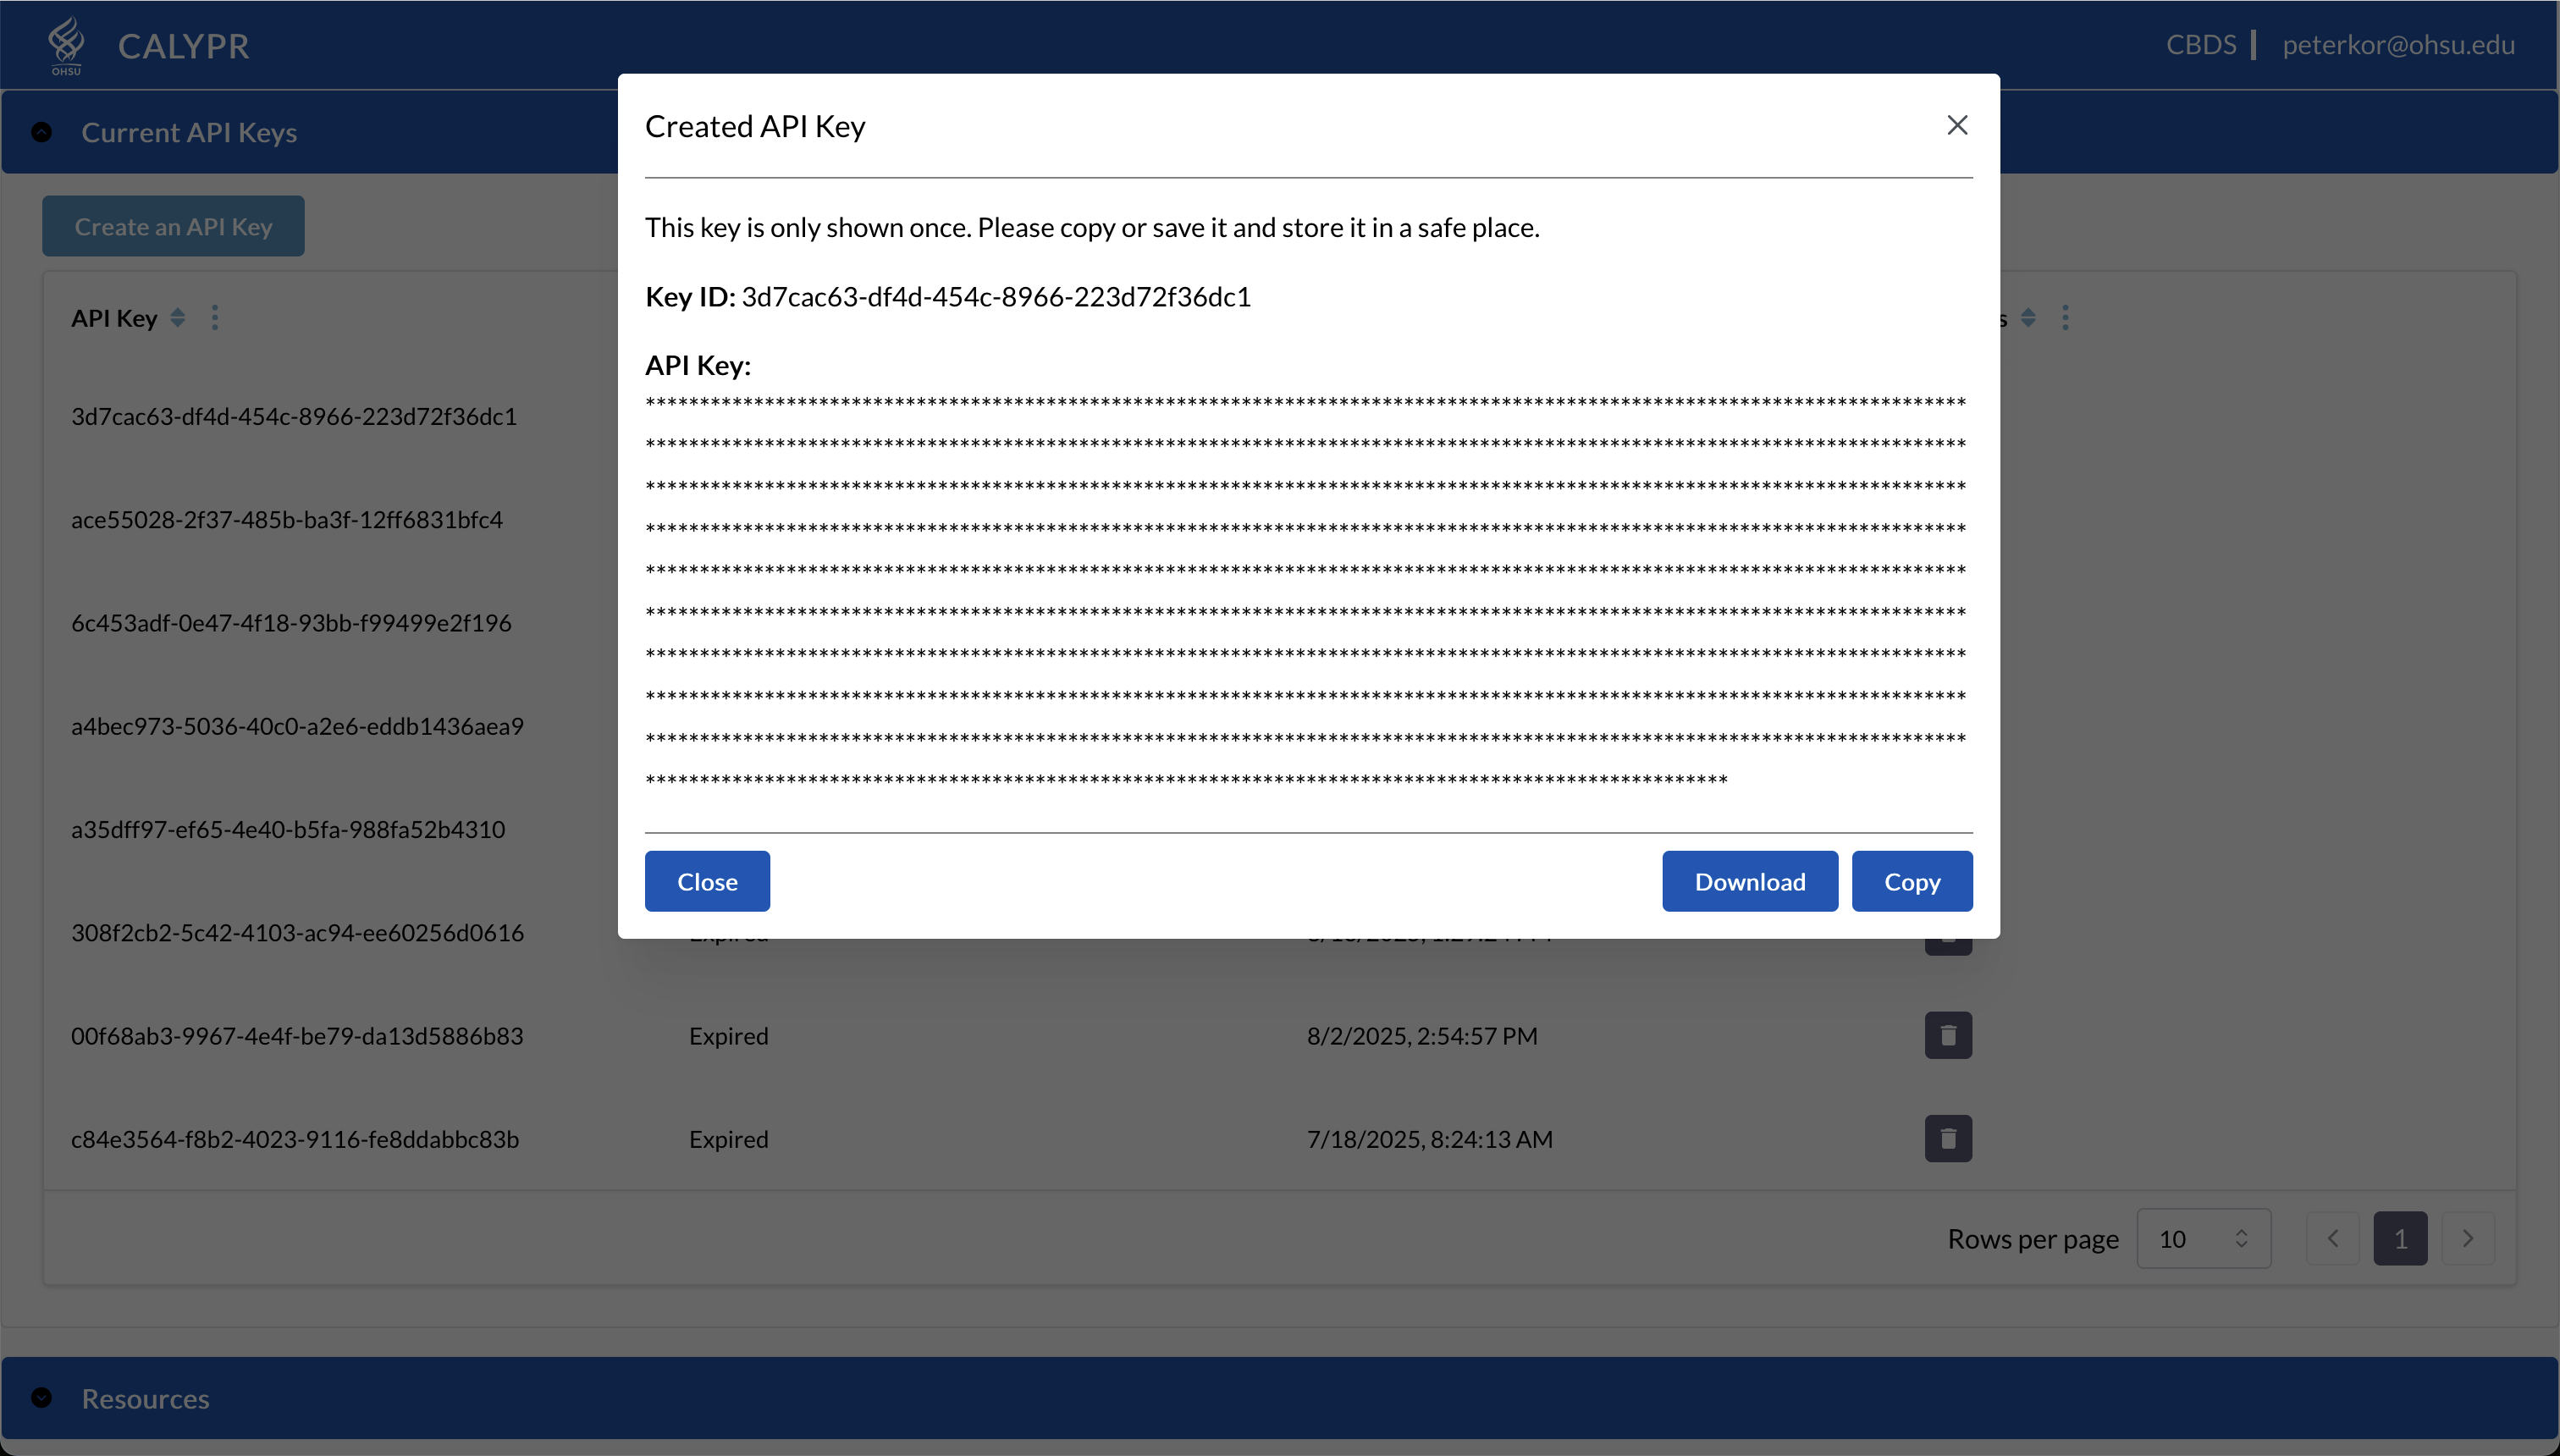
Download Gen3 API Credentials
To use the git-drs, you need to configure git-drs with API credentials downloaded from the Profile page.
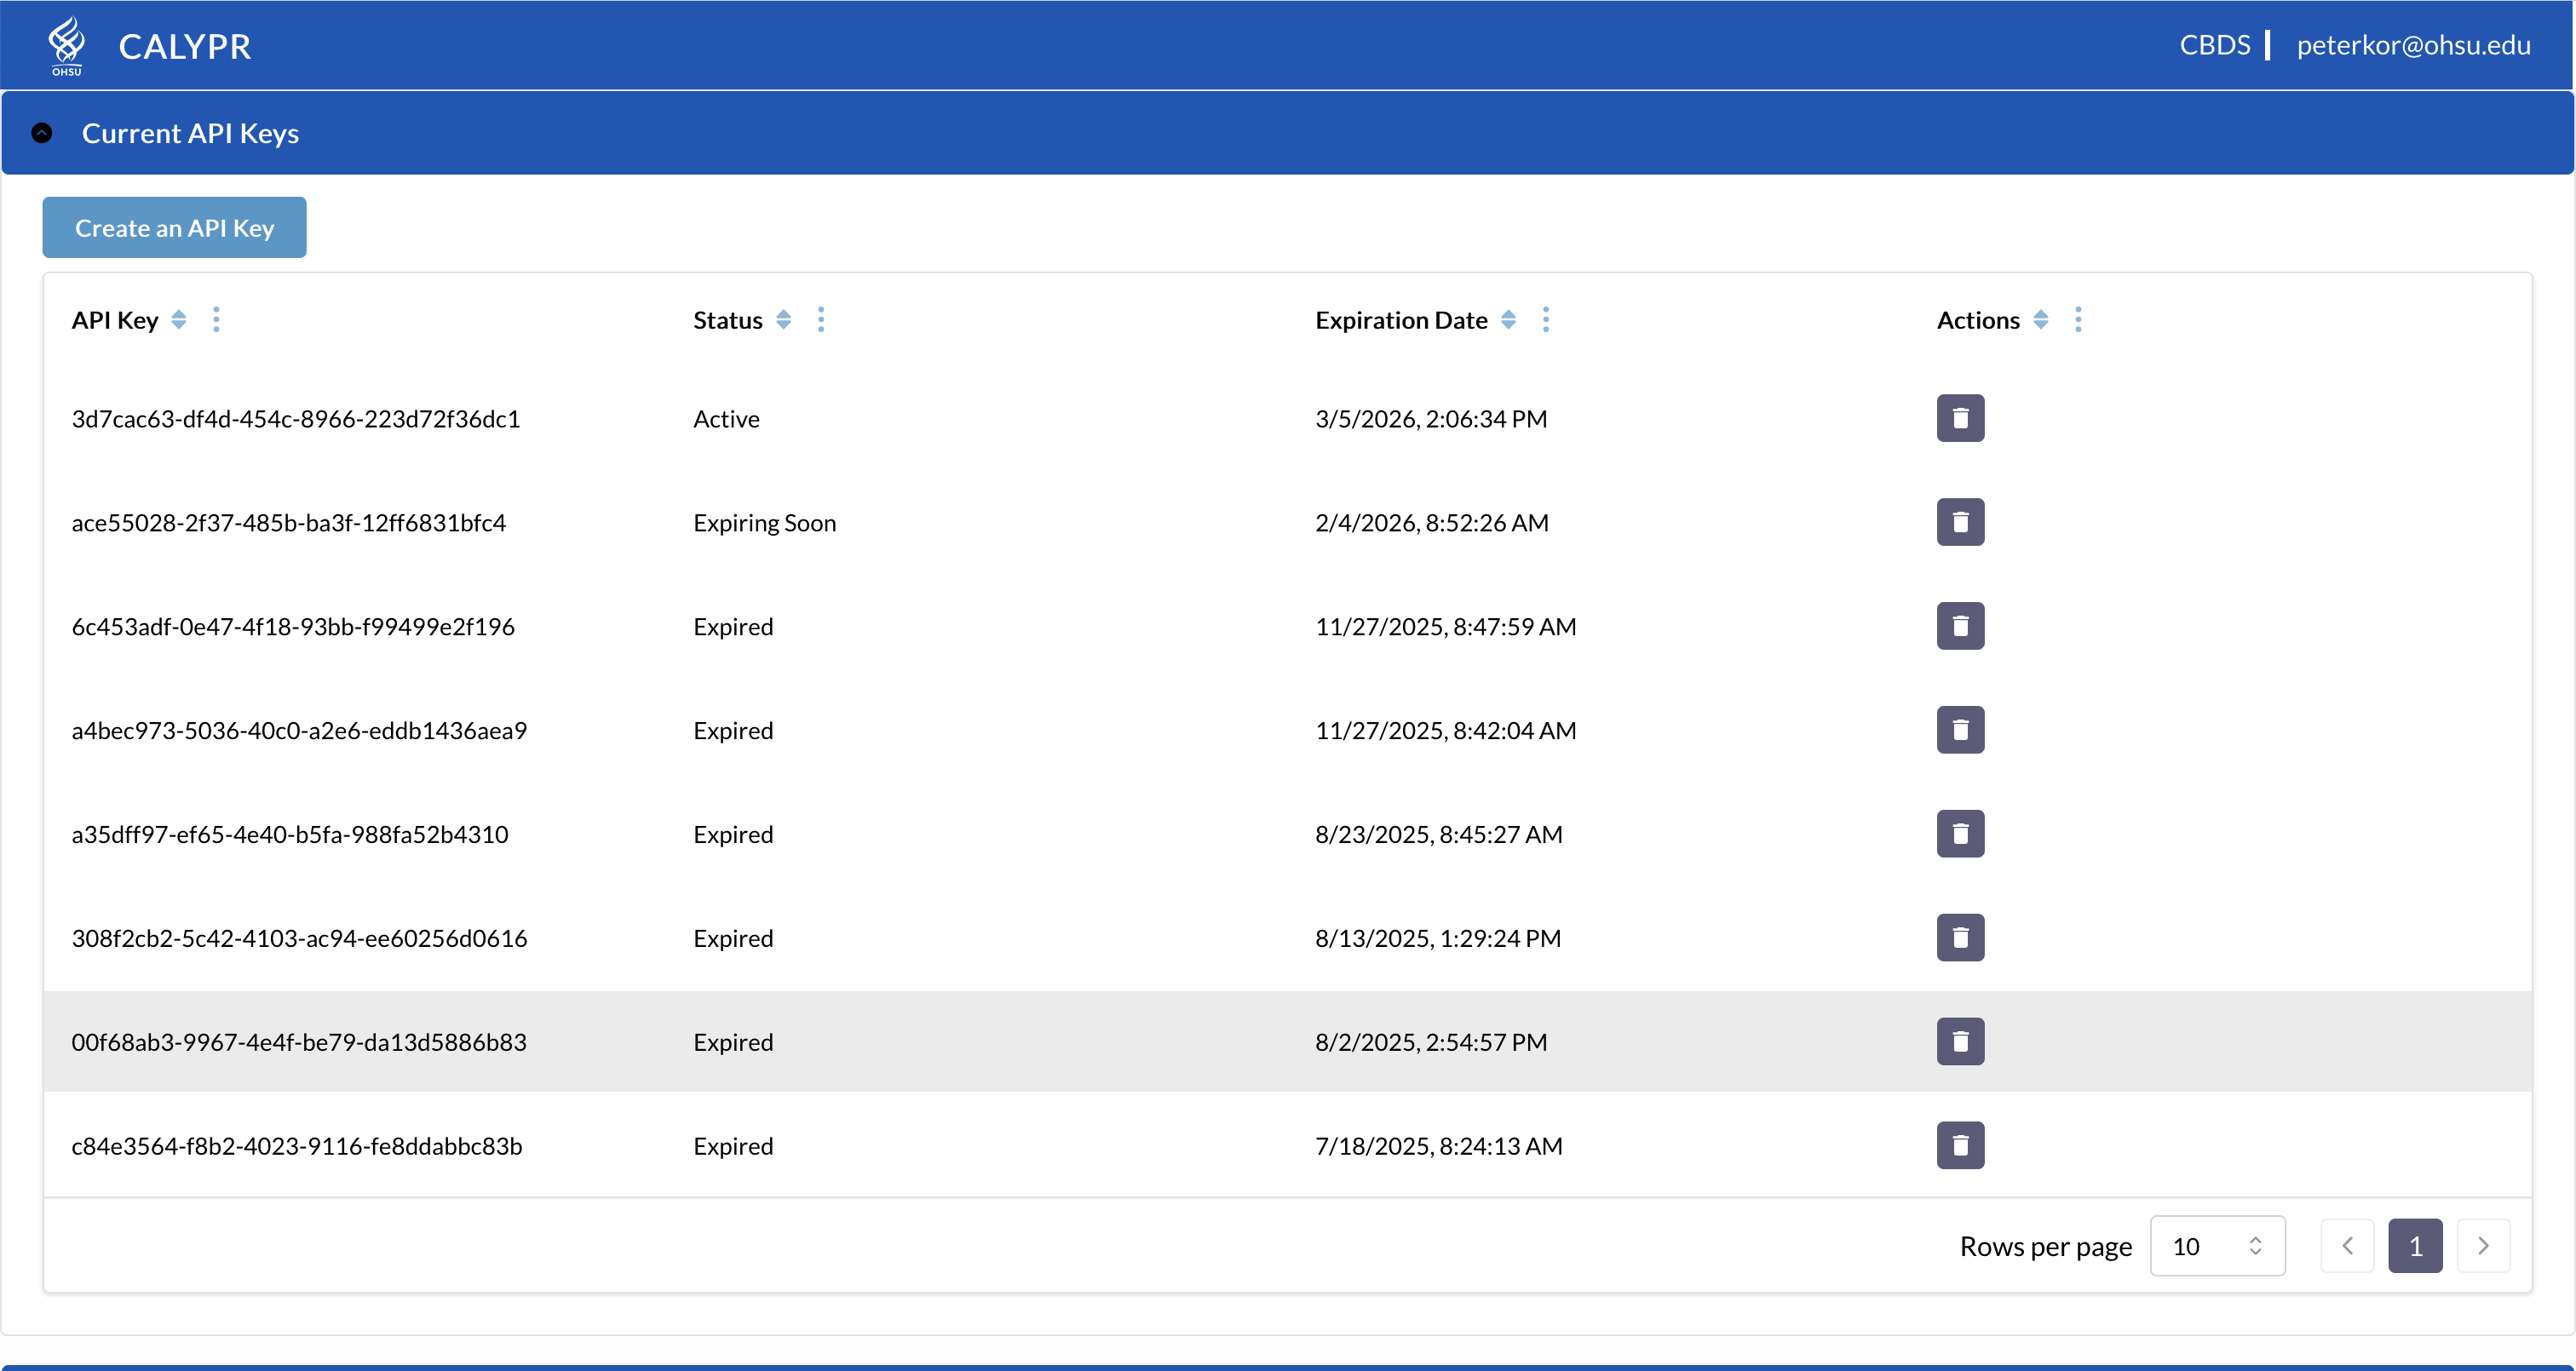
Log into the website. Then, download the access key from the portal and save it in the standard location ~/.gen3/credentials.json

Configure a git-drs repository with a Gen3 Credential.
Now that you have a Gen3 API credential, you can attach the credential to your git-drs repository by adding it as a drs remote.
git-drs requires a bucket name and a project id to defined in this command.
The bucket name is the name of the s3 bucket that you plan to upload your data to. This bucket must be configured inside the calypr instance. contact
the project id must be in the form ORGANIZATION-PROJECTNAME.
From the command line from within your new porject, run the git-drs remote add command:
You can confirm your configuration and access by listing your remotes:
This will show your configured profiles and the projects you have access to.
Remaining Execution
From this point forward, git-drs functions exactly like git-lfs, see git-lfs documentation for more in depth documentation.
An example of uploading a file to calypr and downloading it can be viewed below:
Upload Files
# Track files
git lfs track "*.bam"
git add .gitattributes

# Add and commit files
git add my-file.bam
git commit -m "Add data file"
git push